
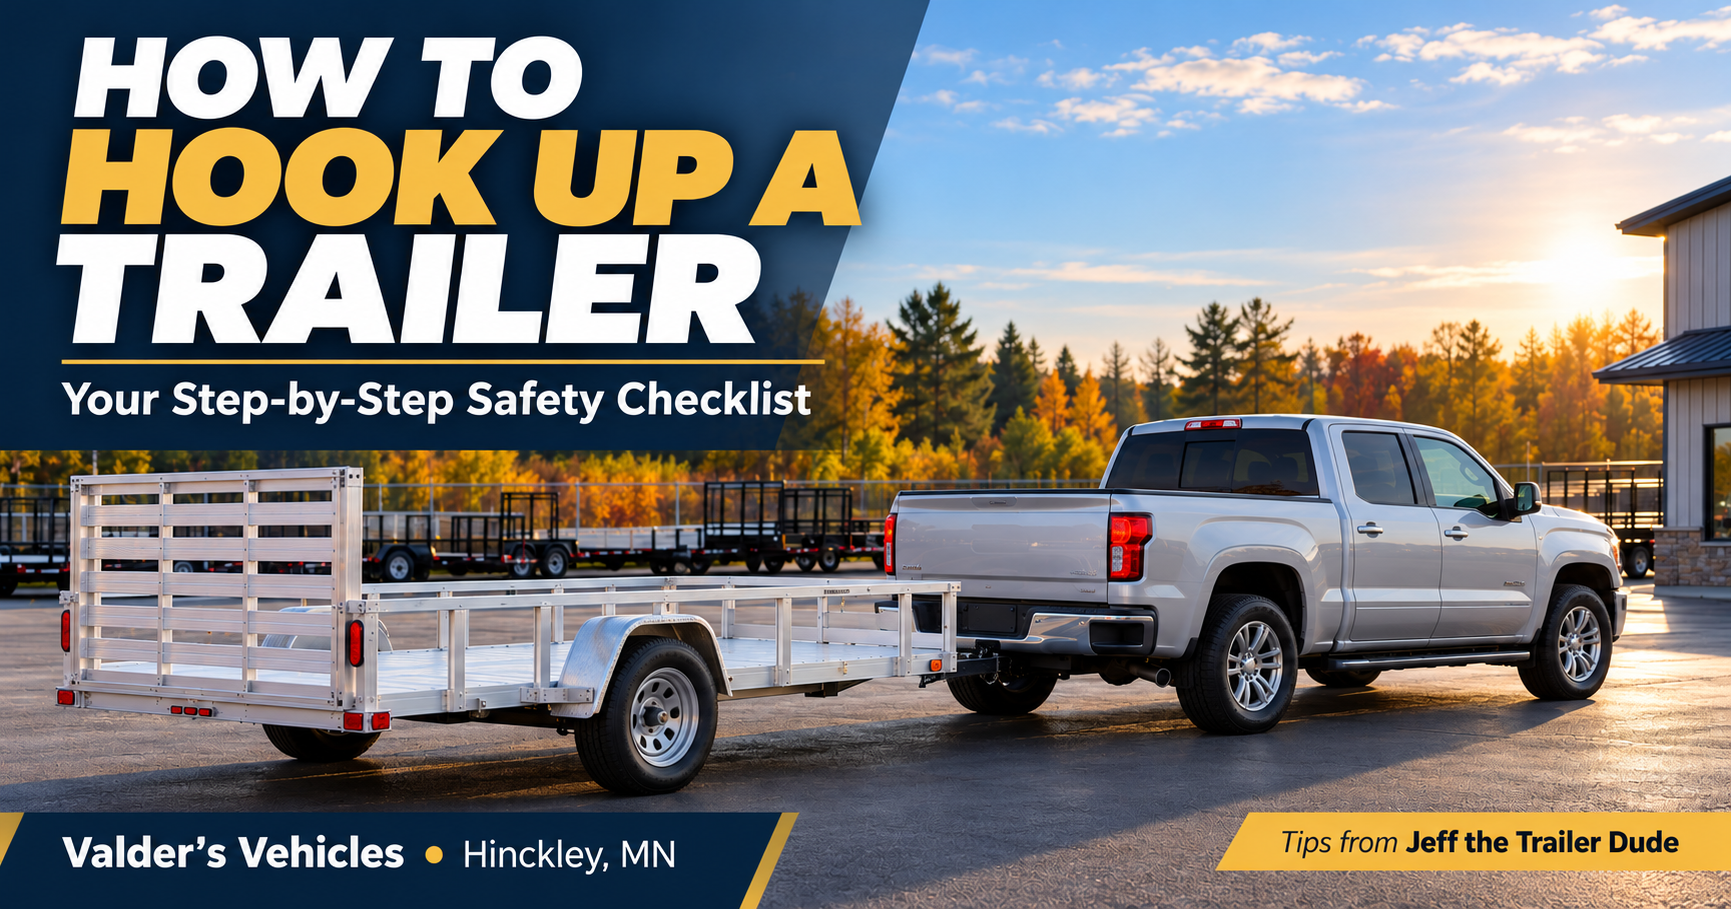
Tips from Jeff the Trailer Dude | Valder’s Vehicles | Hinckley, Minnesota
Knowing how to hook up a trailer starts with a repeatable routine. Whether you are hauling equipment to a jobsite, bringing your side-by-side north for the weekend, or moving supplies across town, take time to check every connection before leaving.
At Valder’s Vehicles in Hinckley, Minnesota, we want you to feel confident using your trailer. This checklist covers conventional bumper-pull trailers with a ball coupler. Always follow the instructions for your specific truck, trailer, hitch, and brake system. Gooseneck, fifth-wheel, pintle, and weight-distribution setups require additional or different procedures.
1. Confirm Your Truck and Hitch Are a Match
Before backing up, confirm that your tow vehicle and towing equipment can handle the trailer’s actual loaded weight and tongue weight. Check the vehicle’s towing, payload, axle, and combined-weight limits, along with the ratings for the receiver, ball mount, hitch ball, and coupler. A higher-rated hitch does not increase your truck’s capacity.
- Match the hitch ball diameter to the size marked on the coupler. Never guess by appearance.
- Confirm the ball mount is secured with the correct hitch pin and retaining clip or lock.
- Check adjustable hitch pins and hardware according to the hitch manufacturer’s instructions.
- Use the correct ball height so the loaded trailer sits approximately level.
- Inspect the ball, coupler, and hitch for damage, excessive wear, or loose components.
Shopping for a trailer that fits your hauling needs? Browse our trailers for sale in Minnesota.
2. Position the Trailer and Back Up Carefully
Choose firm, level ground whenever possible. Chock the trailer wheels against rolling and raise the coupler enough to clear the hitch ball.
Back up slowly until the ball is directly beneath the coupler. A spotter can help, but must stay out from between the moving vehicle and trailer. Stop immediately if you lose sight of your spotter. Secure the vehicle in Park and apply the parking brake before getting out.
3. Seat and Secure the Coupler
Open the coupler as its manufacturer directs, then lower it fully onto the ball. Engage the latching mechanism and install the specified retaining pin or towing-compatible latch lock.
A closed handle alone does not prove the ball is captured correctly. Inspect the connection and perform the coupler manufacturer’s prescribed engagement check. If the latch will not close normally or the fit looks wrong, stop and correct the problem. Do not force it or tow with a questionable connection.
Complete any required weight-distribution setup according to its instructions. Fully retract and secure the tongue jack, drop leg, and any stabilizers before travel.
4. Cross and Connect the Safety Chains
For a conventional ball-coupled trailer, cross the safety chains underneath the tongue and attach them to the tow vehicle’s designated safety-chain points. This arrangement helps form a cradle if the coupler separates from the ball.
- Use properly rated chains, hooks, and attachment hardware.
- Make sure hooks are secure and any safety latches close.
- Allow enough slack for turns without binding.
- Keep the chains from dragging on the pavement.
- Replace damaged or excessively worn components before towing.
See CURT’s safety-chain guidance for additional information.
5. Attach and Check the Breakaway System
If your trailer has a breakaway system, connect its cable to the tow vehicle’s dedicated or manufacturer-approved attachment point. Keep it independent of the safety chains and primary hitch connection so it can operate if the trailer separates. Do not simply loop it over the hitch ball.
Route the cable so it will not drag, snag, or pull tight during normal turns. Check the cable, switch, and pin. For electric breakaway systems, verify battery condition and perform the manufacturer’s specified functional test. Follow its instructions about disconnecting the trailer electrical plug during testing.
The breakaway system is emergency equipment, not a parking brake. If it fails its prescribed test, have it repaired before towing. Read more in Fastway’s breakaway cable guide.
6. Connect the Wiring and Verify Lights and Brakes
Seat the trailer’s electrical plug securely. Route the harness with enough room for turns while keeping it clear of the road and pinch points.
Have someone help you check the running lights, brake lights, and both turn signals. Verify other equipped lights as well. Working lights alone do not confirm that the trailer brakes work.
For electric brakes, use a compatible brake controller and follow its setup and adjustment instructions. Once the hookup is complete and the chocks are removed, check braking at low speed in a clear, safe area according to the equipment manuals. Correct any braking problem before entering traffic.
7. Make One Final Walk Around
Before removing the wheel chocks and moving, check:
- Coupler engagement, latch retainer, and hitch pins.
- Safety chains, breakaway connection, and electrical plug.
- Jack and stabilizers fully raised and secured.
- Tire condition, specified cold inflation pressure, and wheel fasteners checked as directed by the manufacturer.
- Doors, gates, ramps, and latches secured.
- Cargo properly positioned and tied down within all weight limits.
- Mirrors adjusted and the area around the combination clear.
Secure loose items even inside an enclosed trailer. Use appropriate rated tie-down equipment and anchors for your cargo. For more guidance, visit NHTSA’s cargo-securement resource.
Jeff’s tip: If you get interrupted, restart your final connection check.
Need help with your setup? Request trailer service or browse our trailer inventory.
Additional resource: CURT safety-chain guidance.
If you have questions, please call us at 763.689.8778. Visit Valder’s Vehicles online or stop by in Hinckley, Minnesota.